
How to quickly spin up MicroK8s with Multipass
CloudIf you’re looking for a way to spin up a fast Microk8s dev environment, Multipass makes this incredibly easy.

Image: 123dartist, Getty Images/iStockphoto
Recently I wrote about a new bit of technology called Multipass. This new tool makes it incredibly easy to deploy virtual machines (VMs) from either Linux, Windows, or macOS. From those VMs you can do just about anything you want.
Such as deploying Microk8s.
I want to walk you through the process of deploying MicroK8s from within a Multipass VM. It’s a simple route to get you developing on Kubernetes clusters.
SEE: Hybrid cloud: A guide for IT pros (TechRepublic download)
What you’ll need
The only thing you’ll need to make this work is a running instance of Multipass. To find out how to install Multipass, see How to use Multipass, a new tool for launching virtual machines.
How to launch the virtual machine
The first thing we must do is launch the VM and then gain access to it. We’ll launch a VM named microk8s-vm with 3GB of RAM. To do that, issue the command:
multipass launch --name microk8s-vm --mem 3G
Next, we’re going to install microk8s inside of the VM with the command:
multipass exec microk8s-vm -- sudo snap install microk8s --classic
Now we have a VM, named microk8s-vm launched that has microk8s installed.
We’re going to make sure the firewall will accept connections with the command:
multipass exec microk8s-vm -- sudo iptables -P FORWARD ACCEPT
You can see the listing (complete with the IP address of the new VM) with the command:
multipass list
You should see the output that lists the name, state, IP address, and image used (Figure A).
Figure A
Our VM has launched.
” data-credit rel=”noopener noreferrer nofollow”> Our VM has launched.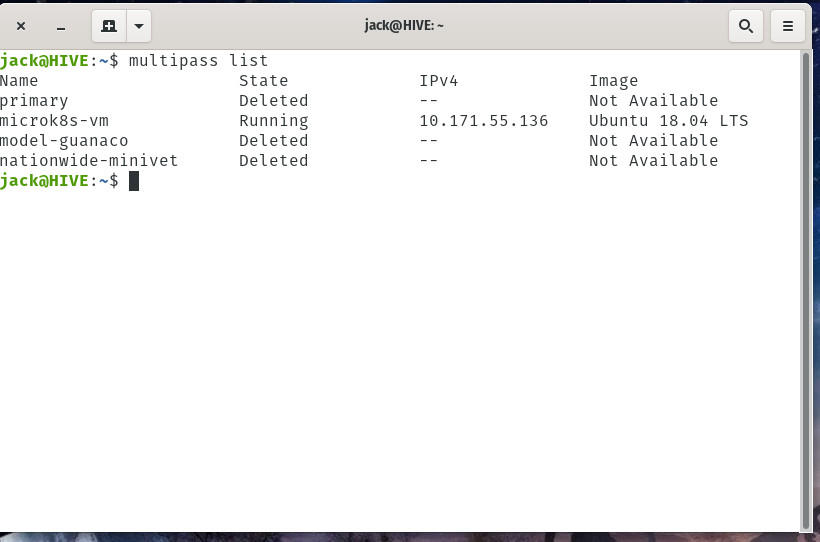
How to access the virtual machine
Now that we have everything running, you’ll want to gain access to the VM so you can start working with MicroK8s. This can be done with the command:
multipass shell microk8s-vm
You should now be at the prompt for your VM (Figure B).
Figure B
Our microk8s-vm shell.
” data-credit rel=”noopener noreferrer nofollow”> Our microk8s-vm shell.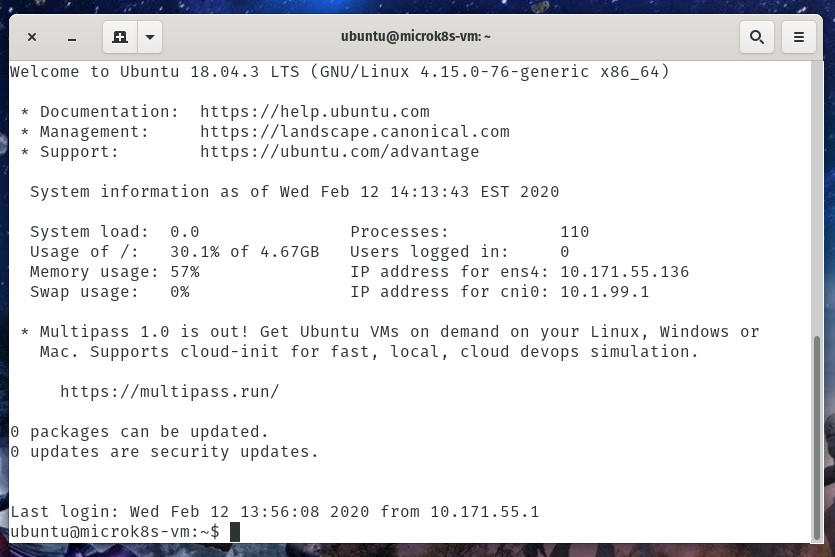
To avoid having to always use sudo with microk8s, you’ll next want to add the user to the microk8s group with the command:
sudo usermod -aG microk8s ubuntu
You’ll then need to exit the shell (with the exit command) and then reconnect so the changes take effect.
How to deploy a pod
Let’s say you want to create a deployment with two NGINX Pods listening on port 80, using the NGINX image from the alpine repository. Do that with the command:
microk8s.kubectl run nginx --image=nginx:alpine --replicas=2 --port=80
To see your newly deployed pods, issue the command:
microk8s.kubectl get pod
You should see the two pods listed, both running and ready (Figure C).
Figure C
Our pods are up and running.
” data-credit rel=”noopener noreferrer nofollow”> Our pods are up and running.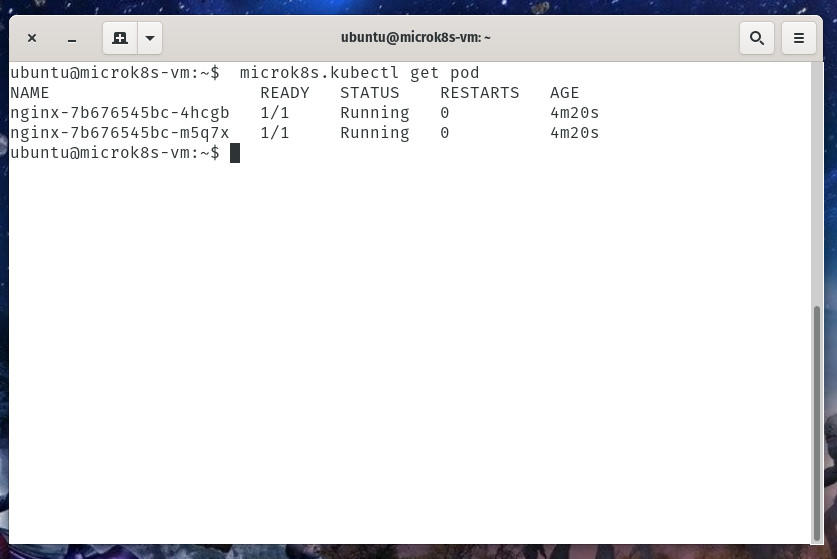
Once you’re done, exit the VM with the exit command. You can then stop and delete the VM with the commands:
multipass stop microk8s-vm
multipass delete microk8s-vm
And that’s how easy it is to get Microk8s up and running on a Multipass-deployed virtual machine. This is one of the easiest ways to start developing with containers. And given Multipass is available for Linux, Windows, and macOS, it’s a technology you can use on any and all of your platforms.

Cloud and Everything as a Service Newsletter
This is your go-to resource for the latest about AWS, Microsoft Azure, Google Cloud Platform, XaaS, cloud security, and much more. Delivered Mondays