How to use GitHub in Chrome OS
CloudNeed to connect with GitHub from your chromebook? Thanks to Termux, you can.

Image: Jack Wallen
If you’re a developer, the idea of working with a cloud-centric Chromebook is probably not at the top of your list. However, with just a bit of work, you can actually get Chrome OS to be a bit more developer friendly. One place to start is to add Git.
Of course, you’re not going to be adding Git directly from the Chrome OS Web Store. In order to make this work, you have to go about it in a roundabout way. Yes, it can be done, and I’ll be there with you to make sure it happens.
SEE: Serverless computing: A guide for IT leaders (TechRepublic Premium)
What you’ll need
All you will need to make this work is a Chromebook that includes support for Android apps. If your Chromebook doesn’t include support for Android apps, you’re out of luck. Fortunately, most modern Chromebooks do support the installation of apps from the Google Play Store.
How to install Termux
In order to get your Git on in Chrome OS, you must first install Termux. To do this, open the Google Play Store app from your Chrome OS desktop and search for Termux. Install the app from the Play Store by clicking Install. Once the installation completes, you’re ready to continue.
How to install Git
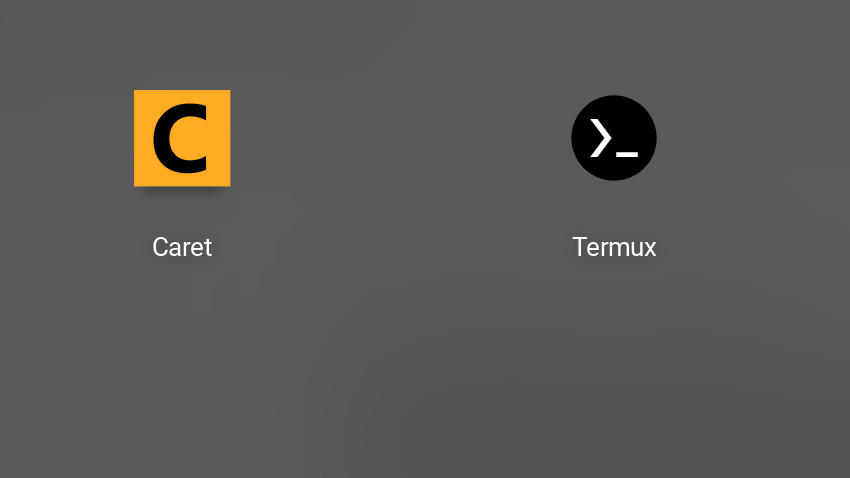
With Termux installed, you should find the application launcher (Figure A) by clicking the Chrome OS desktop menu.
Figure A
The Termux launcher in the desktop menu.
” data-credit rel=”noopener noreferrer nofollow”> The Termux launcher in the desktop menu.
The Termux application looks pretty much like a Linux terminal window (Figure B). Everything you do within Termux, must be done inside Termux. In other words, you don’t install applications that can then run directly from the Chrome OS desktop.
Figure B
The Termux window running in ChromeOS.
” data-credit rel=”noopener noreferrer nofollow”> The Termux window running in ChromeOS.
In order to install Git, issue the command:
apt install git
The application will pick up the necessary dependencies. When prompted (Figure C), type y to OK the installation.
Figure C
Installing Git with Termux.
” data-credit rel=”noopener noreferrer nofollow”> Installing Git with Termux.
When the installation finishes, Git is installed and ready to configure. The first thing you’ll want to do is run the following configuration commands:
git config --global user.name "NAME"
git config --global user.email "EMAIL"
git config --global color.ui true
git config --global core.editor EDITOR
Where NAME is your full name, EMAIL is your email address, and EDITOR is the default editor you want to use.
Because you must work within Termux, it won’t have, by default, an editor installed. That’s an easy fix. For example, if you prefer the nano editor (as I do), you can install it with the command:
apt install nano
Next you’ll need to create an SSH keypair for Git authentication. Do this with the command:
ssh-keygen -t rsa -C EMAIL
Where EMAIL is your email address.
The SSH key pair will be saved in /data/data/com.termux/files/home/.ssh/. You need to copy the contents of id_rsa.pub and then paste it into the SSH Keys section in your GitHub account. The one caveat to this is that you cannot copy/paste from the Termux window. To get around this, I used the scp command to copy the id_rsa.pub file to a remote server and then used the Secure Shell app to log in to that machine. From within the Secure Shell app, I could copy/paste the key to my GitHub account.
Once you’ve copied your SSH key, go back to Termux and issue the command:
ssh -T git@github.com
You will be prompted for your SSH key authentication password. Upon successful authentication, you’ll be logged in to Git and you can start using the tool from your Chromebook.
Remember, the only way to access Git on your Chromebook is via Termux. So any time you want to use Git, open Termux and you’re ready to go.
And that’s all there is to getting your Git on with your Chromebook.

Cloud Insights Newsletter
Your go-to knowledge base for the latest about AWS, Microsoft Azure, Google Cloud Platform, Docker, SaaS, IaaS, cloud security, containers, the public cloud, the hybrid cloud, the industry cloud, and much more. Delivered Mondays
