
Step by step upgrade of VMware vCenter 6.5 U2 to vCenter 6.7 U3
VMware VMware, vSphere, VxRail/vSAN
I recently had the pleasure of upgrading one of my older environments running VMware vCenter 6.5 U2 to vCenter 6.7 U3 and thought i would share my experience. I know a lot of people who are planning for this upgrade by the end of the year so I hope this helps everyone out.
Prerequisites
- Need temp FQDN & IP with valid DNS registration for deployment process, will be released when upgrade completes.
- If vCenter Server Appliance uses an external Update Manager instance, you must run the Migration Assistant on the Update Manager machine.
- Your source and target ESXi hosts must not be in lockdown or maintenance mode, and not part of fully automated DRS clusters.
- Review your environment’s Certificate Authority (CA) signed SSL certificates.
- ESXi hosts must be at version 6.0 or later.
- Check VMware interoperability for all external components: https://www.vmware.com/resources/compatibility/sim/interop_matrix.php
Food for thought:
- 6.7 disables the TLS 1.0 and 1.1 protocols for improved security.
**Warning**
If you have VxRail — Due vCenter API changes in 6.7 you must be at VxRail 4.0.520 / VxRail 4.5.215 or later prior to upgrading your vCenter to 6.7 U1 or later. If you are below these minimums then upgrade your VxRail first followed by your vCenter.
Step 1. Take a snapshot or a clone of your existing vCenter server
I personally like to take a clone, some prefer a snapshot, others a backup.
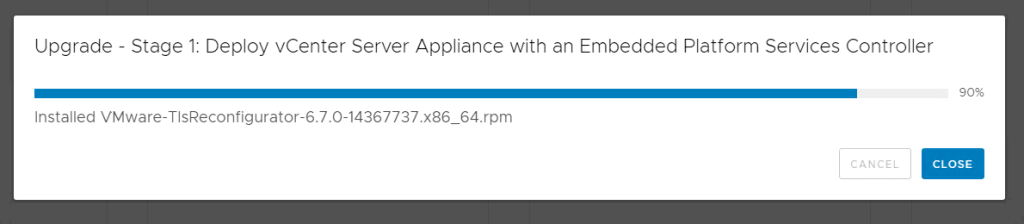
Step 2. Deploy new VCSA Appliance
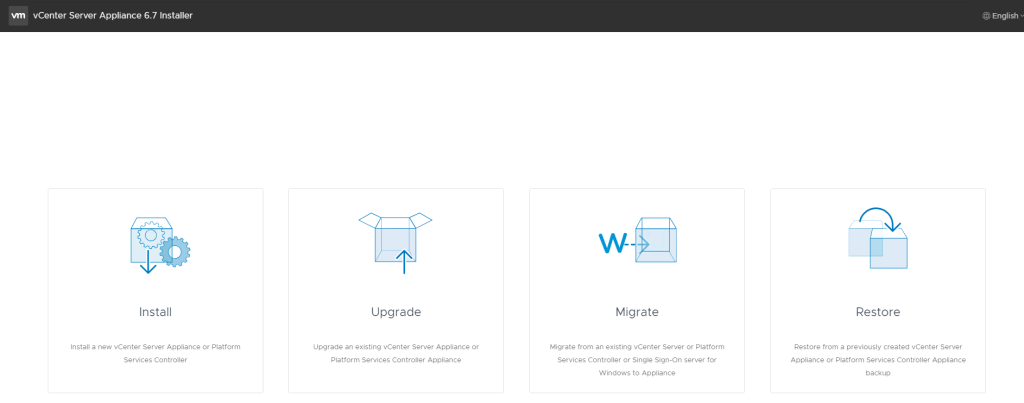
Select Upgrade —-
DO NOT SELECT INSTALL!
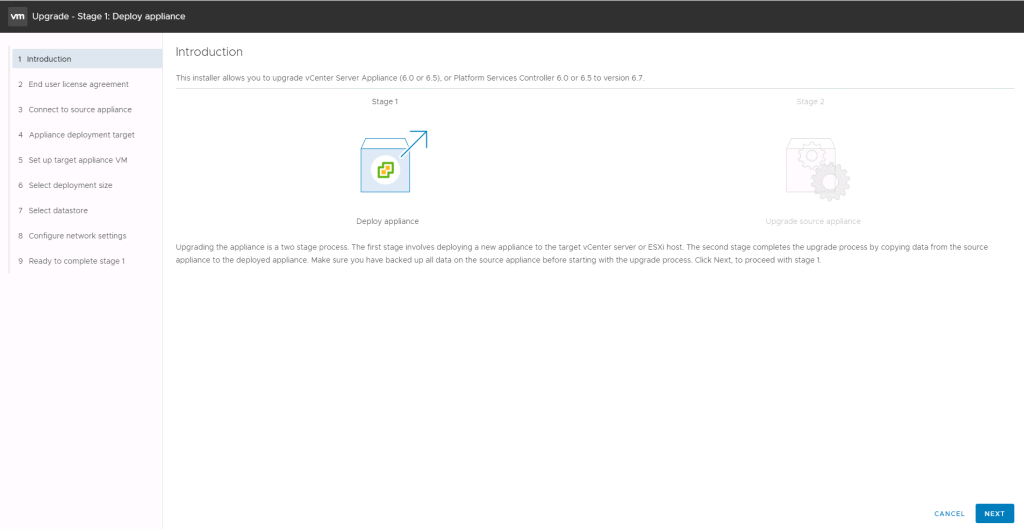
Next
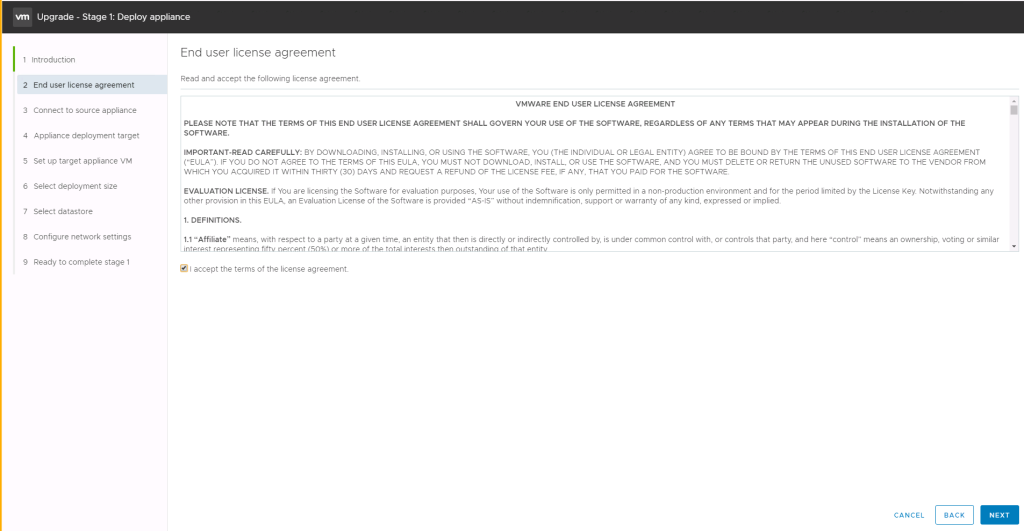
Accept the License
Agreement and then next
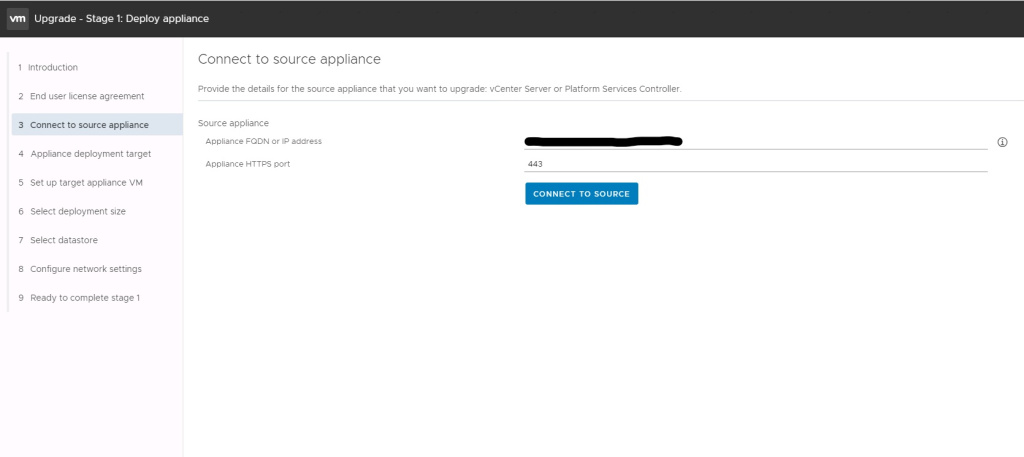
Enter the
information for the Source (Original) VCSA Appliance
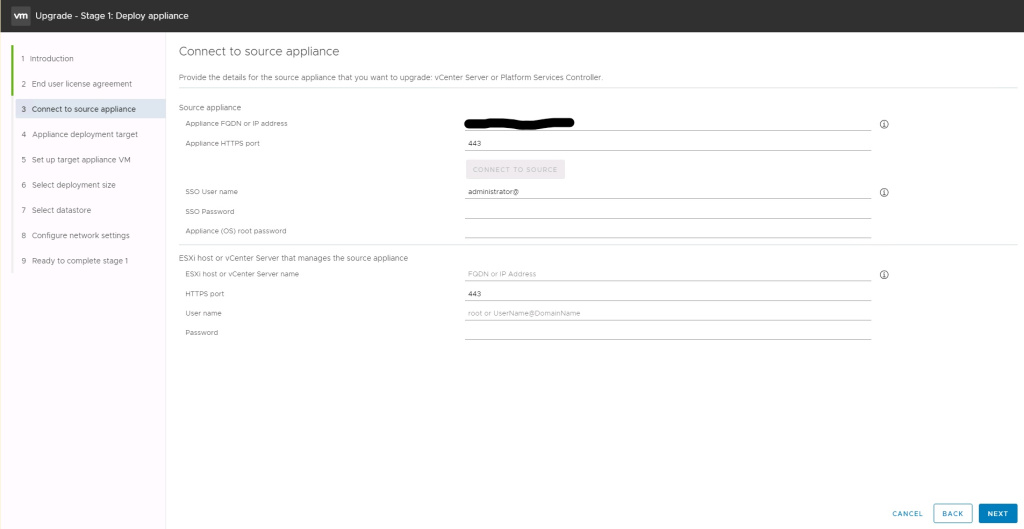
Enter the source (original) Username and password and root password
Enter the standalone ESXi host or vCenter server that manages your source (original) appliance
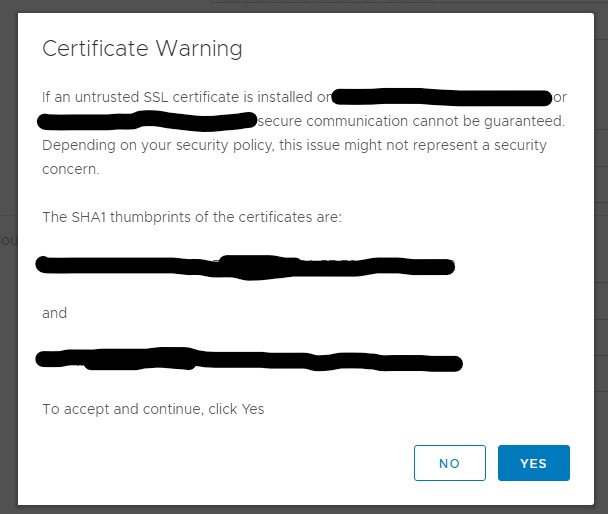
Yes
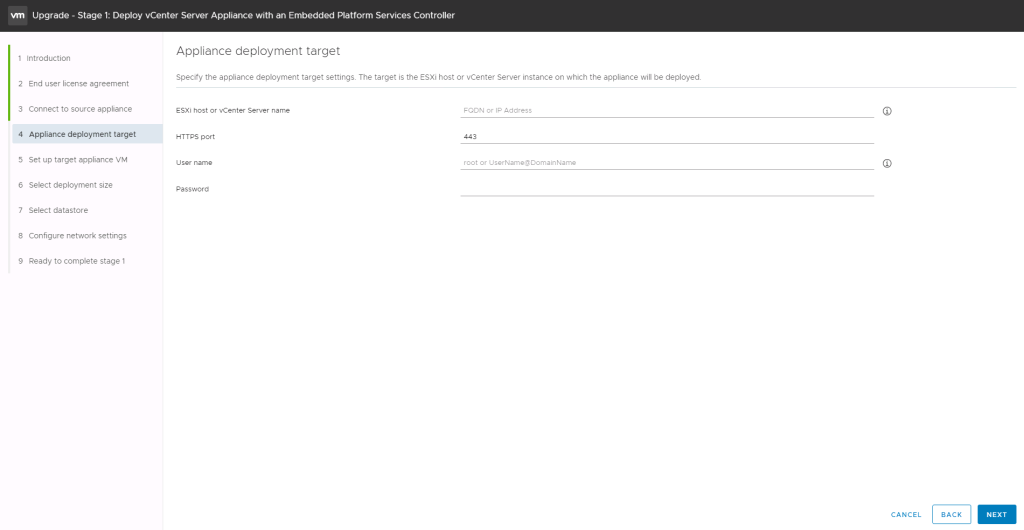
This is where you
enter the standalone ESXi or vCenter that will manage the new vCenter appliance
Enter username and
password of the ESXi or vCenter
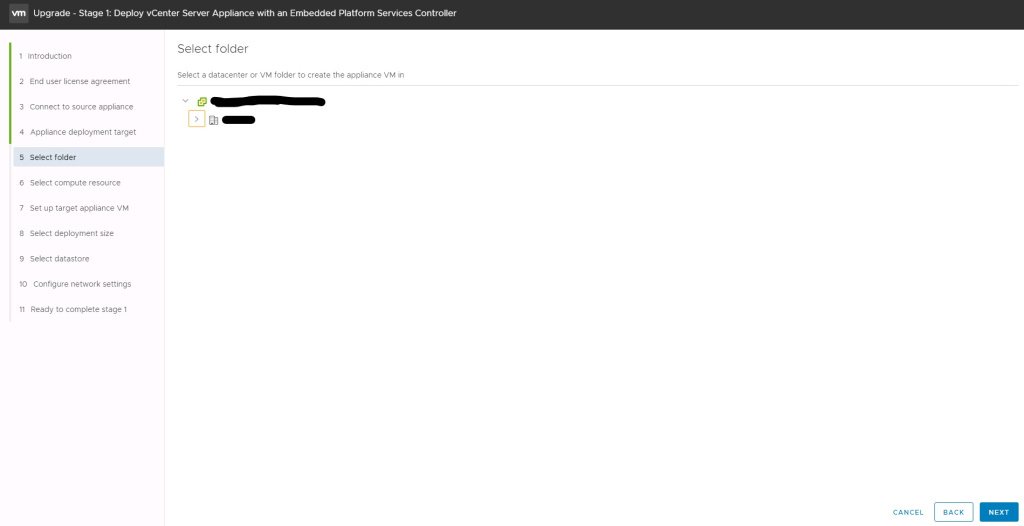
Select the folder to
deploy the new appliance in – I always put it in the folder of the original
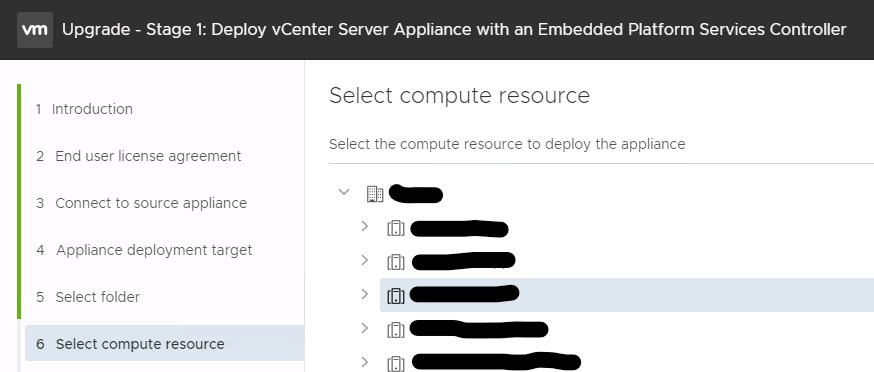
Select the compute
resource you want to place the new appliance – I always put it in the cluster
of the original
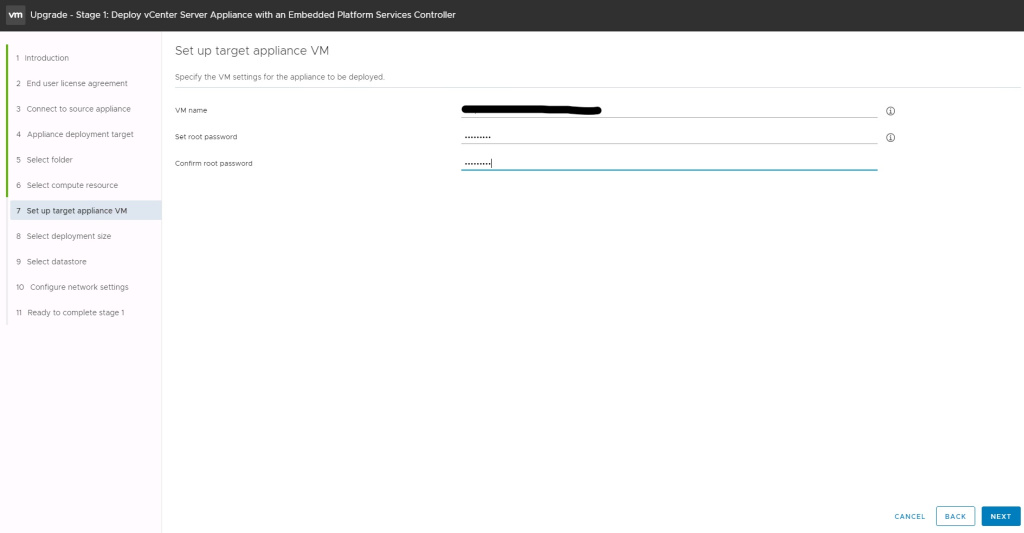
This is where you
enter the temp name or IP
Remember to enter
your source (original) appliance username/password as it is not copied over
during the migration
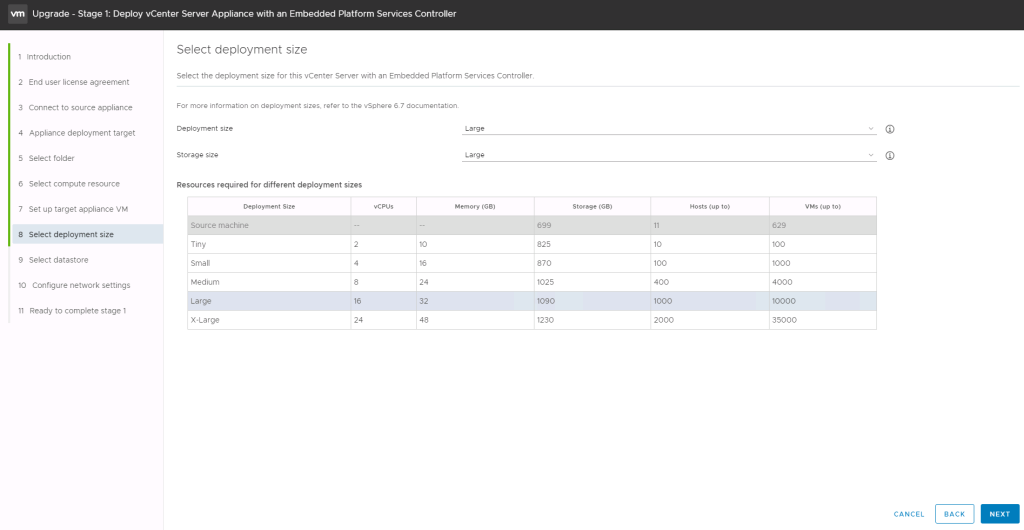
Pick the size of the
appliance to fit your environment.
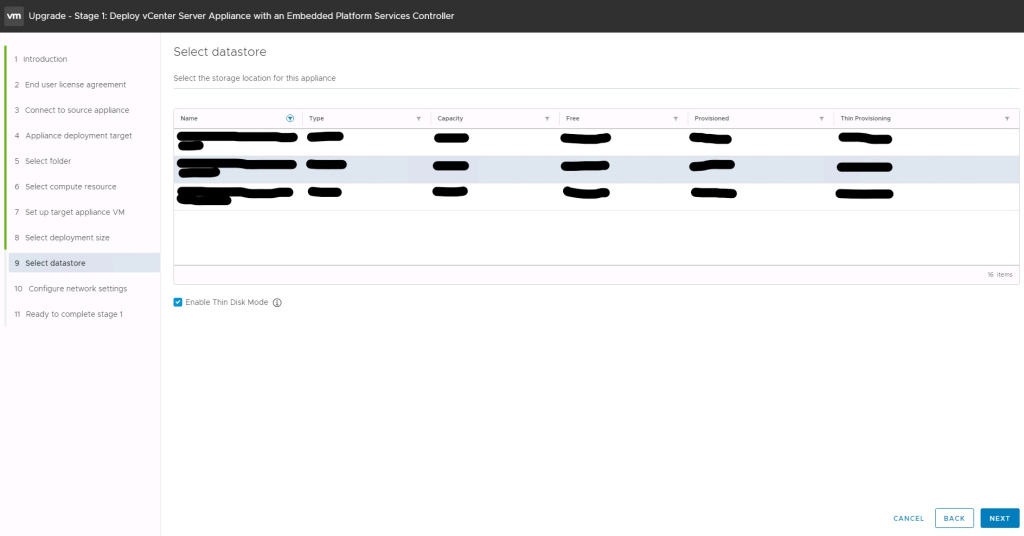
Select the datastore
you want the new appliance to be deployed on
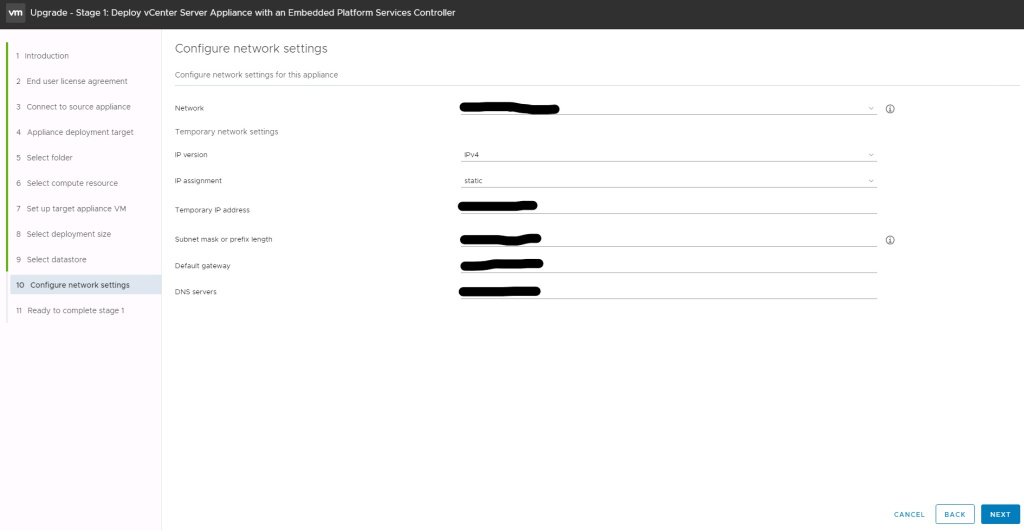
Finish filling in
the network information of the new appliance
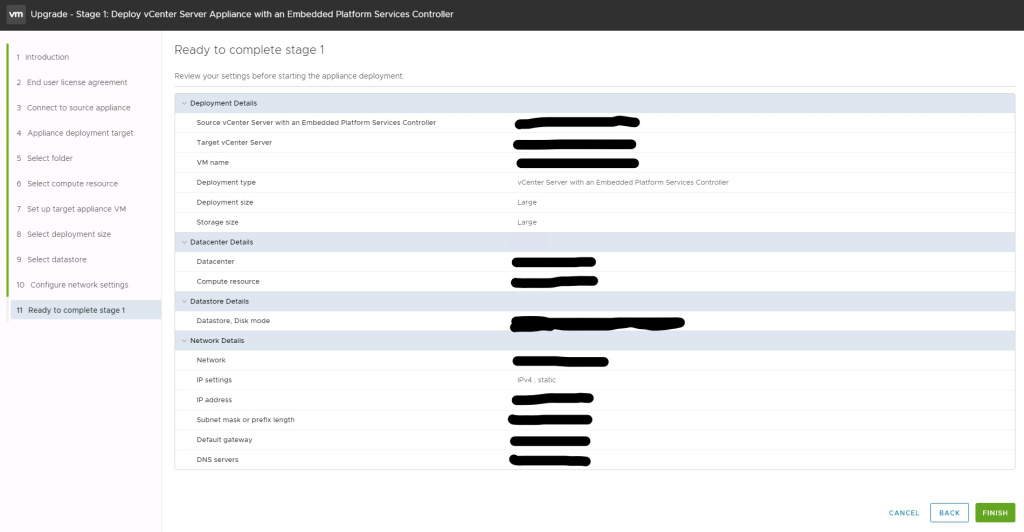
Confirm all the
information is correct and click finish
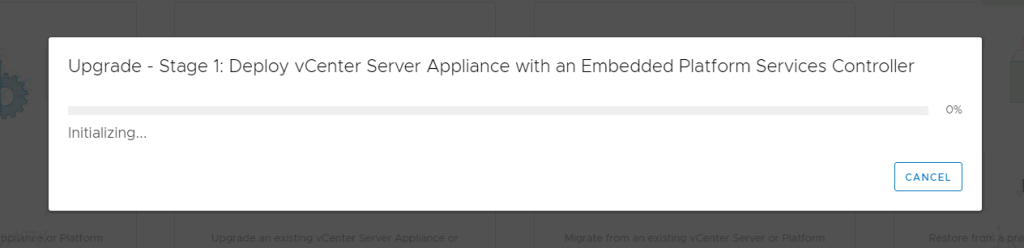
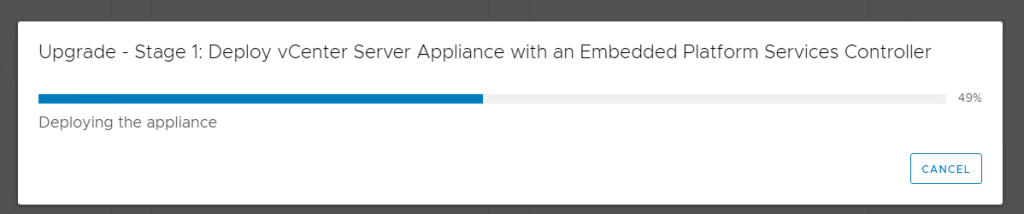
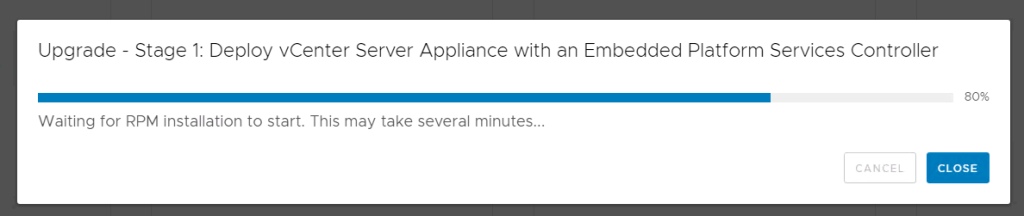
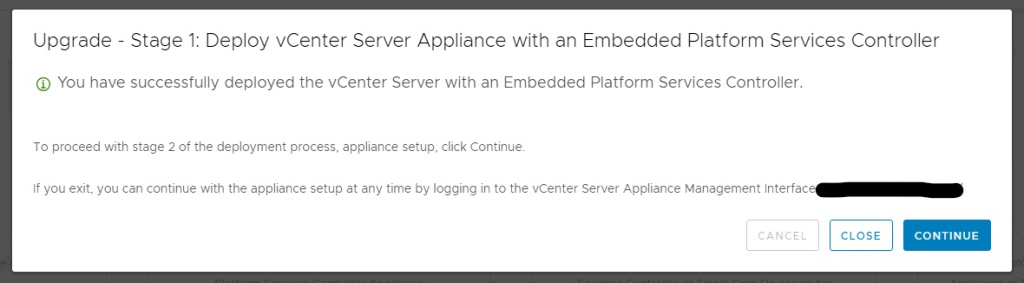
Step 3 / Stage 2 – Migrate old VCSA persona to new VCSA
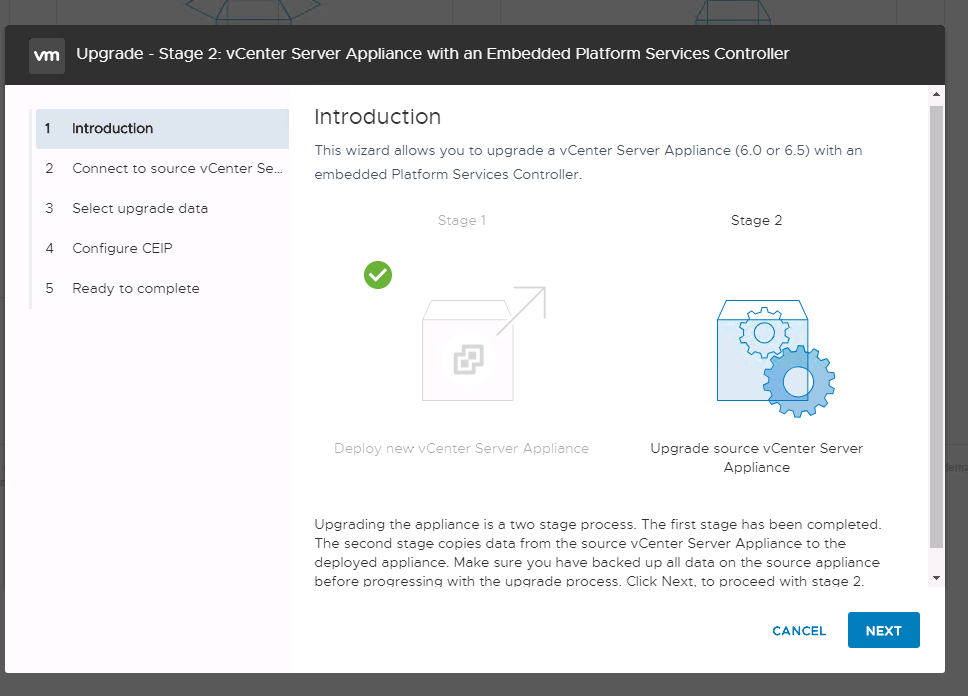
Next
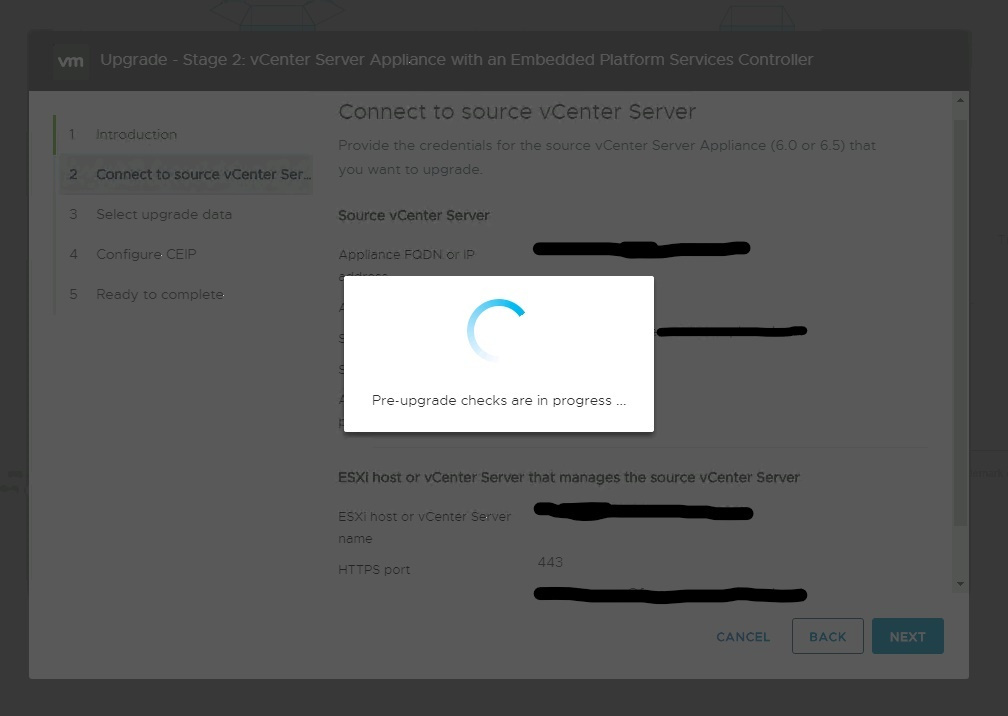
Fix any errors or
document any warnings from the check
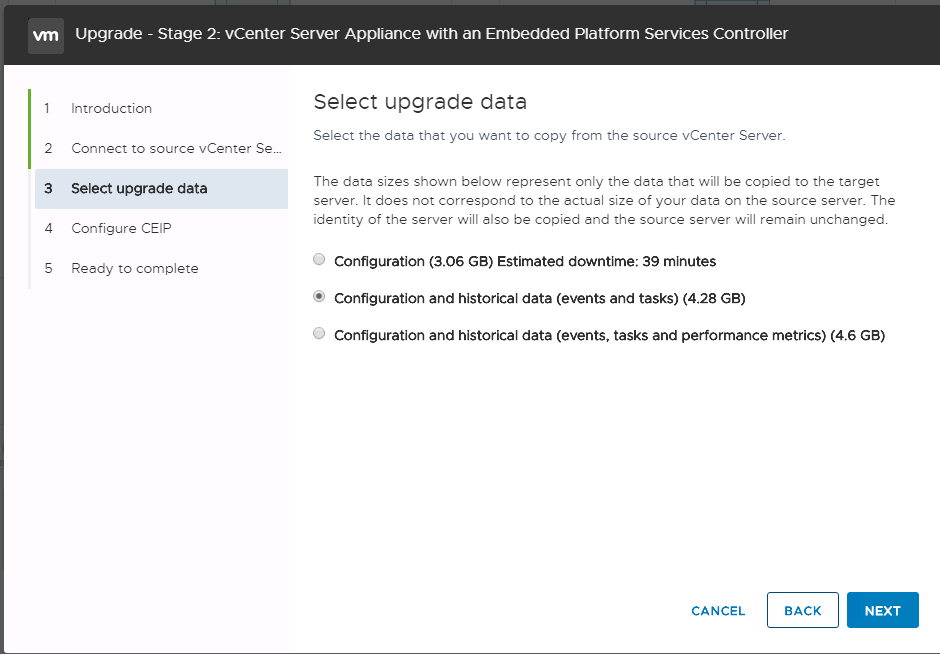
I select the
configuration and historical data.
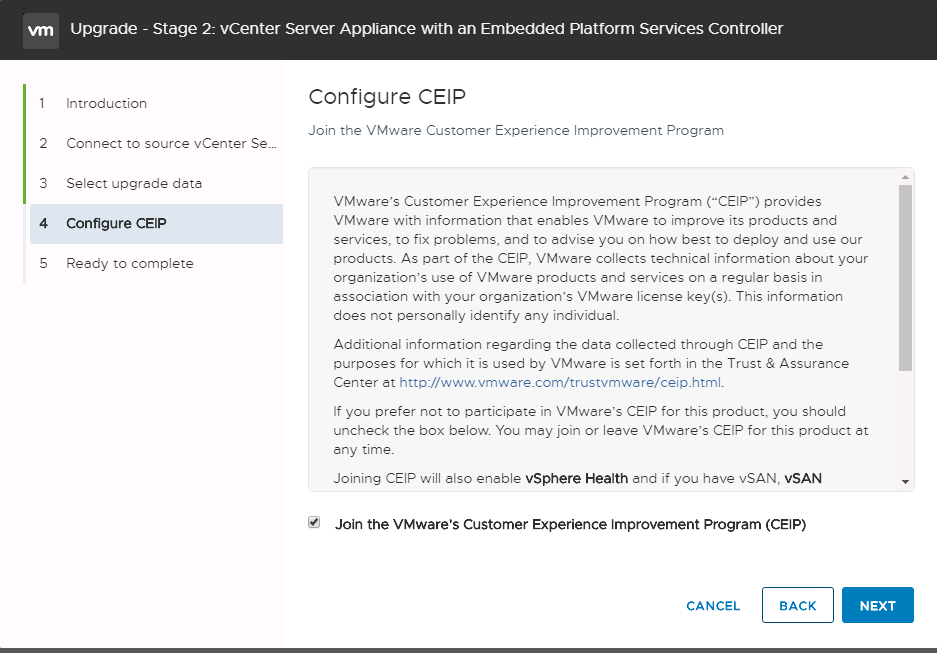
Join the CEIP
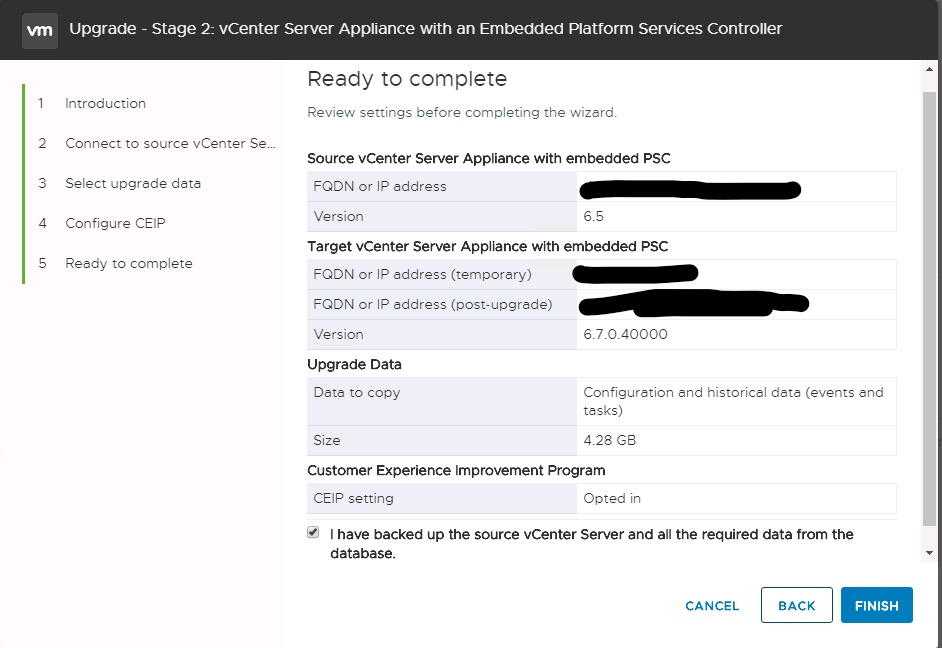
Confirm the
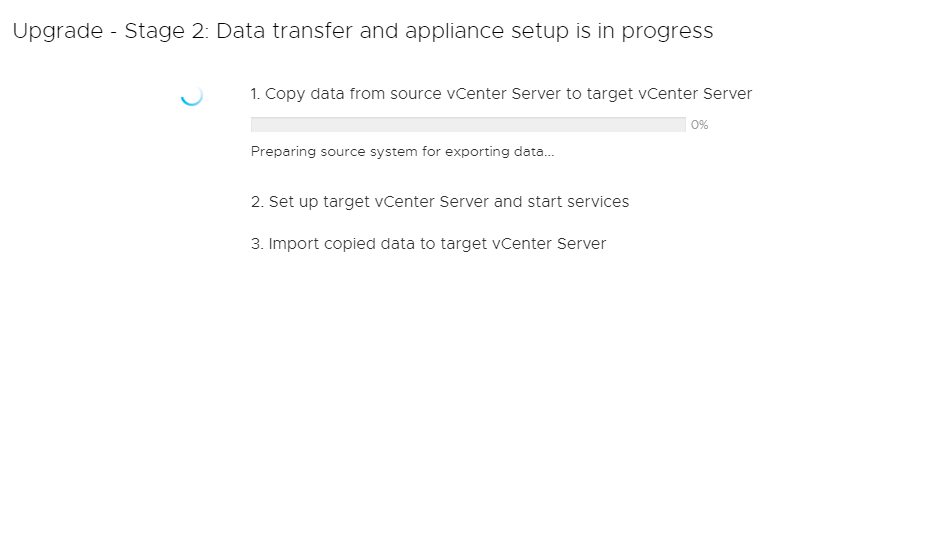
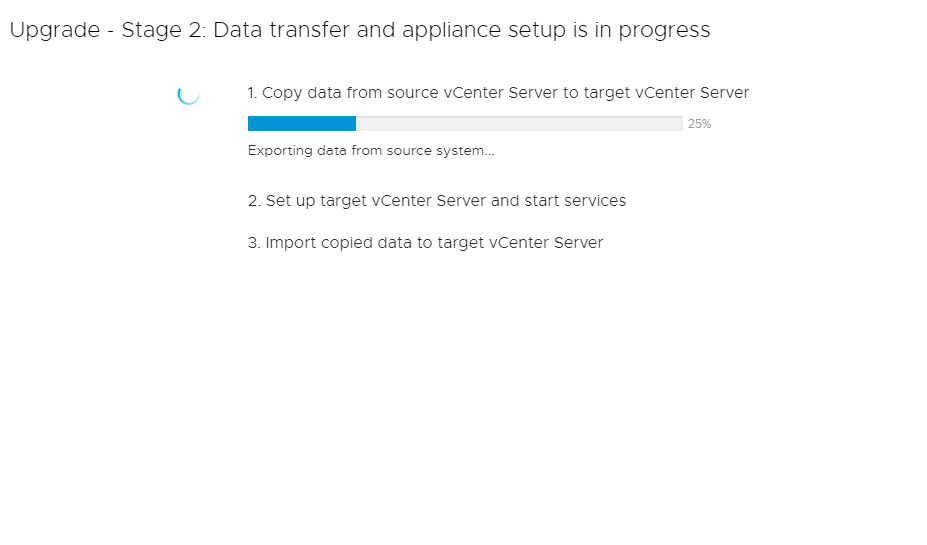
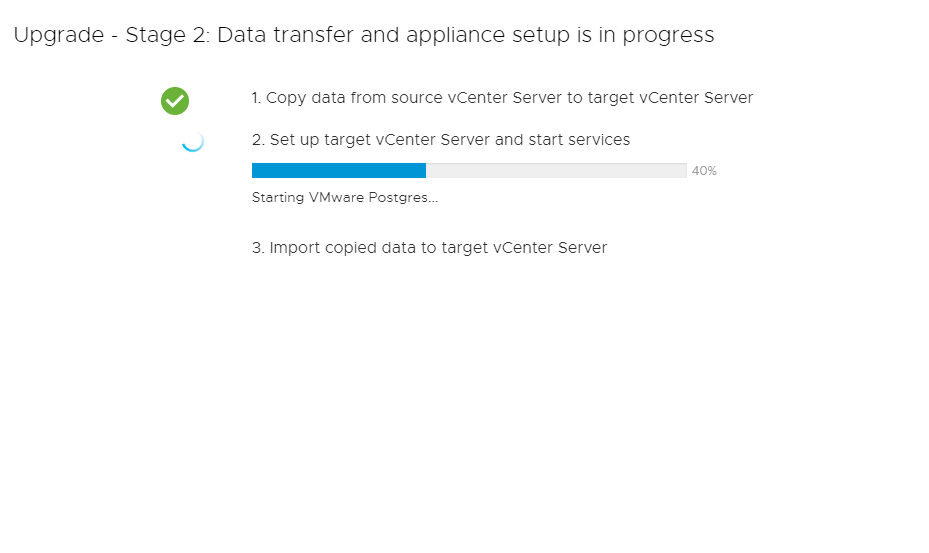
configuration is correct and then click finish and let the fun begin
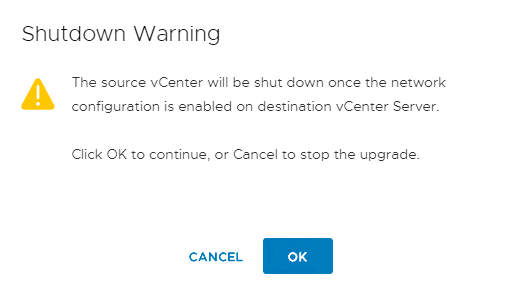
OK
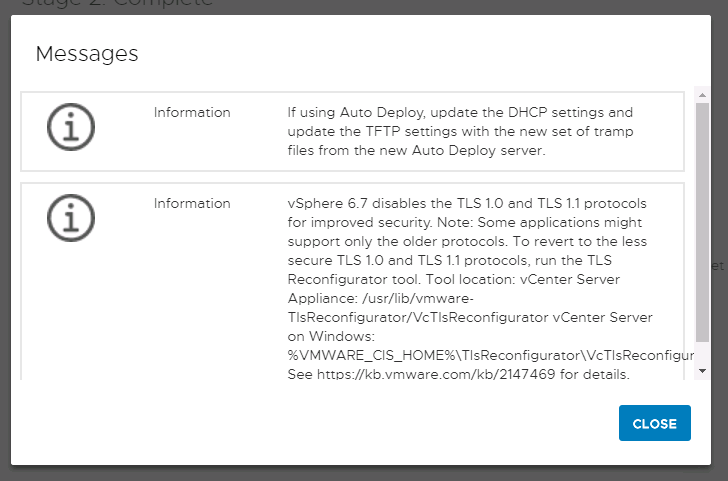
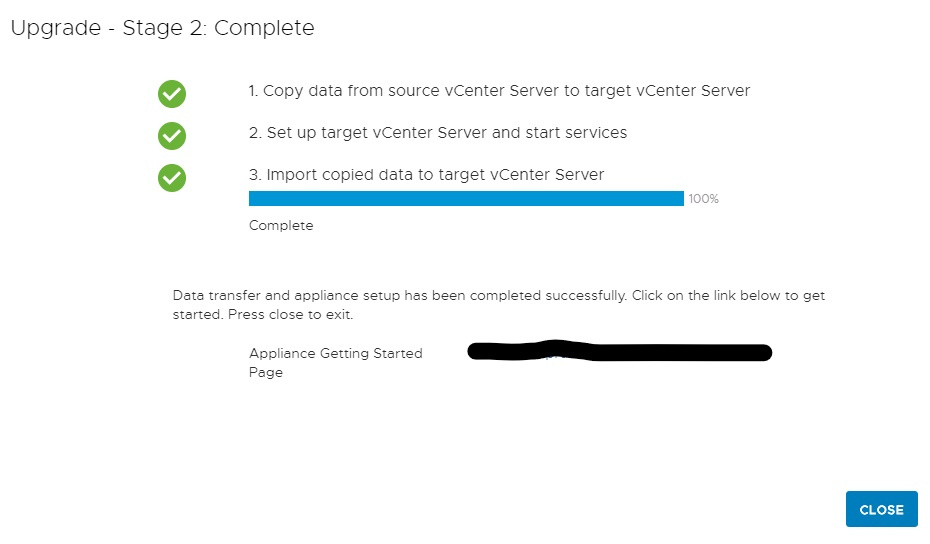
Click on the URL
link to go to the login page
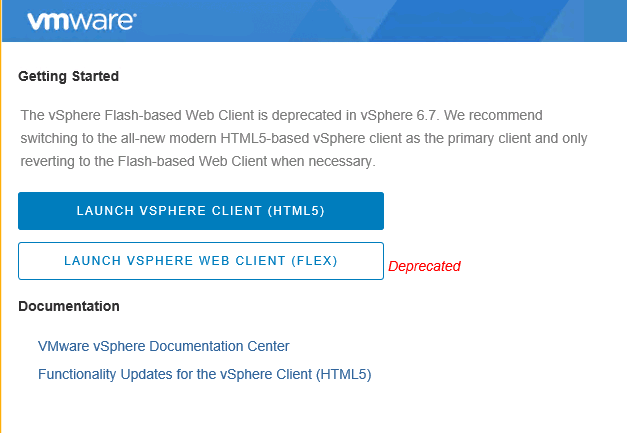
Enjoy the new HTML-5
feature rich UI
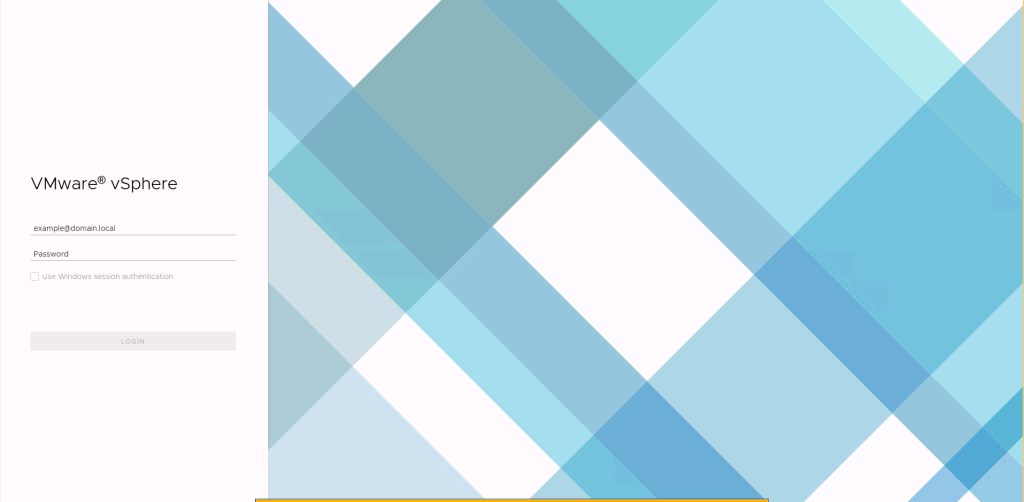
Login with your
credentials.
Summary:
It is a very lengthy process but a whole lot of sit and wait. However, the features that come in 6.7 U3 are too good to wait on. I hope everyone found this article useful.